WordPress Upload Limit
Is The WordPress Upload Limit Giving You Trouble? Here’s How To Change It.
Setting up a PHP Info File
Before you even start trying out different solutions, it can be useful to try and get some details about how PHP is configured on your site. Luckily, PHP has a simple function to help you do this. Create a new file in a text editor of your choice, and add this line of code to it:
Name the file “info.php” and save it. Then, FTP into the root directory of your server, where WordPress is installed, and drag in info.php. Next, visit “http://yoursite.com/info.php”, replacing “yoursite.com” with the actual URL of your live site. This will give you a full list of details about your PHP configuration.
There are three settings within the PHP.info file that are relevant to your upload limit. You can search through the file to see what they are currently set to.
memory_limit – This defines how much memory is allocated to PHP. You will simply need to ensure that this number is as high or higher than the upload limit you want to set.
post_max_size – This defines the maximum size that is handled in a POST request. We will need to set this to our new upload limit.
upload_max_filesize – This defines the maximum size for file uploads. This will also be set to our new upload limit.
Create or Edit the PHP.ini
In the root directory of your server, your php.ini file is located. For purposes of demonstration, I am going to increase my upload limit to 64 MB. You can go higher than this, but it’s not recommended that you go higher than 128 MB.
Altho most servers are set to 1GB file upload limit.
Though these values will be scattered throughout the file. Find them and change them to this:
.
memory_limit = 64M
upload_max_filesize = 64M
post_max_size = 64M
max_execution_time = 300
.
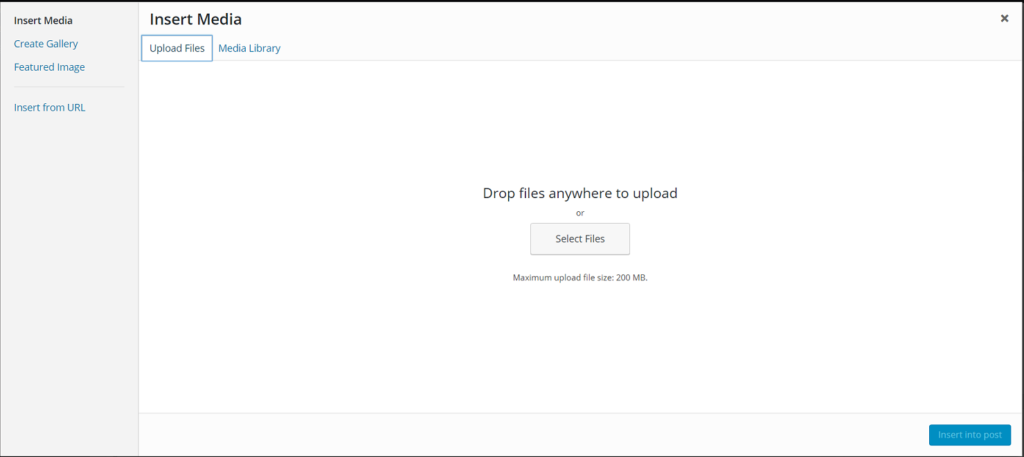
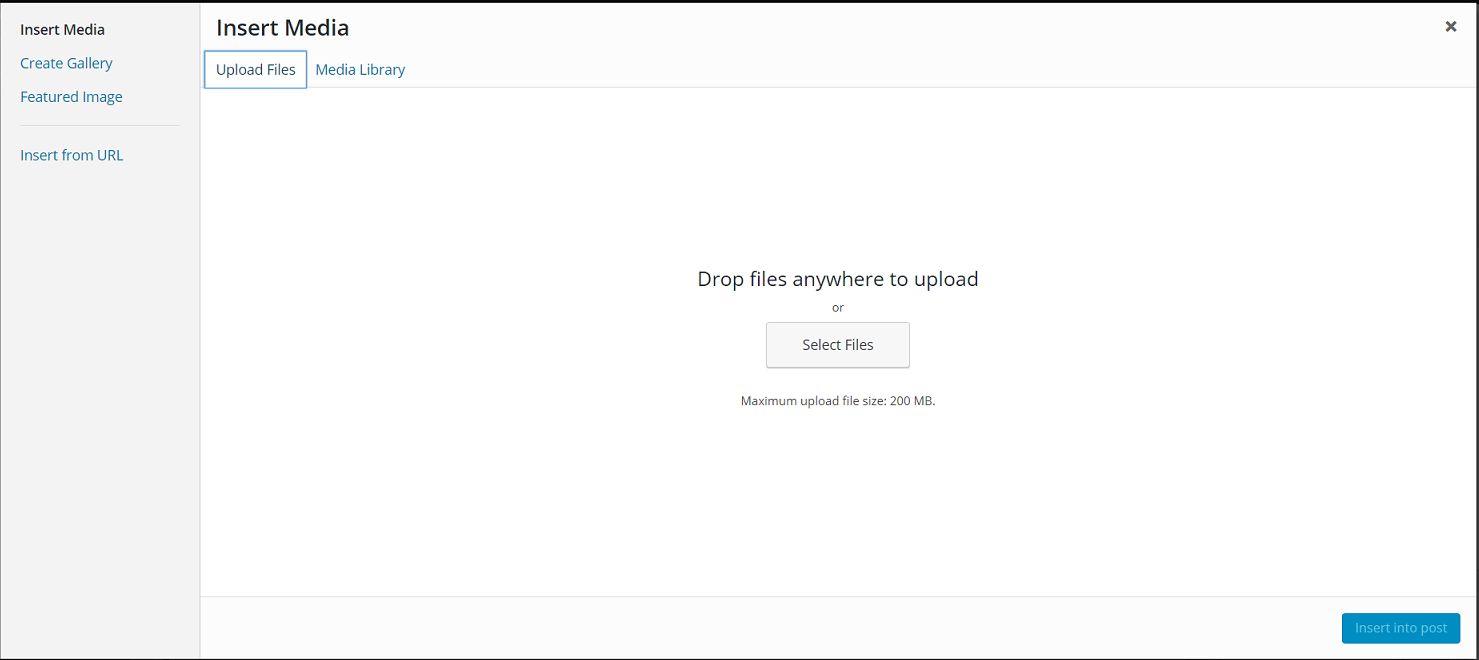
When you are done, save your file. It may take a little while for these changes to take effect. If you are on a dedicated server and are able to, you should try restarting your server. If you’re unclear about how to restart your server, check with your web host. Otherwise, make sure your browser and site’s cache is cleared. Hopefully, when you visit Media -> Add New you will see a new maximum upload size, and you’ll be all set.
If you are unable to find your php.ini file, or if your web host does not give you access to it, you may be able to upload your own file to override the default settings. To do so, create a new file and open it up in your text editor. Then, paste in the following code:
.
memory_limit = 64M
upload_max_filesize = 64M
post_max_size = 64M
file_uploads = On
max_execution_time = 300
.
Remember your PHP version above? If you are on PHP version 4, then save this file as “php.ini”. If you are on PHP version 5, then save this as “php5.ini”. If you do happen to be running version 5, and the above filename does not work for you, then you can rename it “php.ini” and upload it again.
Using .user.ini
If that method still isn’t working for you, you may have another option. This will only work if you are using a version of PHP 5. Otherwise, you can skip this section.
Create a new file, and this time call it “.user.ini”. In that file, paste the following code:
upload_max_filesize = 64M
post_max_size = 64M
memory_limit = 64M
max_execution_time = 300
.
You can change the value of 64M to match your new desired upload limit. Save this file, and then drag it into the directory of your WordPress install using FTP. If you have the ability to restart your server, you should do so. The changes may take a bit to take effect, but go to Media -> Add New to confirm.
Upto here worked for me!
Trying .htaccess
If you’ve tried the php.ini solutions, and none of them worked, there may be a solution that lies in your htaccess file. In general, htaccess is used to configure an Apache server. However, it can also be used to change PHP values, if your PHP version is set up as an Apache module.
Before you edit your htaccess file, make sure you have a backup. Changing this has the ability to cause an Internal Server Error or a blank white screen, which can easily be removed by simply re-uploading your original htaccess file.
To access your file, go to the root directory of your WordPress install. Make sure that you’ve enabled your FTP client to view hidden files, then open up the file labeled “.htaccess” to edit. At the bottom of the file, paste in this code:
php_value upload_max_filesize 64M
php_value post_max_size 64M
php_value max_execution_time 300
php_value max_input_time 300
.
Then save this back to your server. Visit your site, and look for any errors. Then, you can go to Media -> Add New to see if your maximum upload size has taken effect. If you run into any problems, upload the backup htaccess file you saved locally.
WordPress Config File
If all else fails, there is one more trick you can try. This will require editing your WordPress files directly.
The first step is to FTP into your server, and drag your “wp-config.php” file, located in the root directory, so that you can edit locally. Open up the file, and at towards the bottom add the line:
define(‘WP_MEMORY_LIMIT’, ’64M’);
Then upload this file back to the server.
A Thank You to : www.elegantthemes.com/blog/tips-tricks/is-the-wordpress-upload-limit-giving-you-trouble-heres-how-to-change-it
